Mastering Cannabis Cloning: A Beginner's Guide
How to Take Clones the Proper Way:
A Comprehensive Guide for Beginners
Cannabis cultivation is both an art and a science, and mastering the technique of taking clones is a cornerstone of successful growing. Cloning allows you to replicate the genetic traits of a parent plant, ensuring consistent quality, yield, and potency. If you’re new to cloning or want to refine your technique, this guide I'm about create will walk you through the proper steps to take clones effectively, emphasizing cleanliness, environment, and proper use of tools like Clonex rooting gel, which is a rooting hormone. (Highly Recommended)
What is Cloning, and Why is it Important?
Cloning is the process of taking a cutting from a healthy mother plant and encouraging it to grow roots, thereby creating a genetically identical copy of the original plant. This technique offers numerous advantages:
- Genetic Consistency: Clones inherit the exact genetic makeup of the parent plant, ensuring uniform growth and predictable results.
- Cost-Effective Propagation: Instead of purchasing new seeds, cloning allows you to multiply your plants at minimal expense.
- Faster Growth: Clones are already mature plant tissue, reducing the time needed to reach the vegetative stage compared to seedlings.
However, successful cloning requires precision and attention to detail. Let’s dive into the step-by-step process to ensure your clones thrive.
Step 1: Prepare the Environment
A controlled and clean environment is critical for successful cloning. Before you begin, set up a space with the following conditions:
Environmental Requirements
- Temperature: Maintain a stable temperature between 72°F and 78°F (22°C to 25°C). Temperatures outside this range can stress the cuttings and inhibit root development.
- Humidity: Keep the humidity levels between 70% and 80% to prevent the cuttings from drying out. A humidity dome can help maintain these conditions.
- Light: Use a low-intensity light source, such as a fluorescent or LED grow light, with a light cycle of 18 hours on and 6 hours off. Avoid direct, intense light, as it can stress the clones.
- Airflow: Ensure gentle airflow to prevent mold and fungal growth, but avoid direct wind on the clones.
Cleanliness is Key
Clones are highly vulnerable to pathogens, so maintaining cleanliness is essential:
- Sterilize all tools and surfaces with rubbing alcohol or a bleach solution.
- Wash your hands thoroughly or wear disposable gloves.
- Use fresh, sterile cloning mediums and clean containers.
Step 2: Choose and Prepare the Mother Plant
The health of the mother plant directly impacts the success of your clones. Follow these guidelines:
Selecting a Healthy Mother Plant
- Choose a plant that is vigorous, pest-free, and disease-free.
- Ensure the mother plant has been in the vegetative stage for at least 4-6 weeks.
- Avoid taking clones from a flowering plant, as they are more challenging to root and may result in less yields.
Preparing the Mother Plant
- Avoid fertilizing the plant for at least a week prior, as high nitrogen levels can slow root development.
- Water the mother plant 24 hours before taking cuttings to ensure it is well-hydrated.
Step 3: Gather Your Tools and Materials
Having the right tools and materials ensures a smooth cloning process. You will need:
- Sharp pruning scissors or a razor blade: Sterilized to prevent infections.
- Clonex Rooting Hormone: This gel encourages rapid root development and protects the cutting from pathogens.
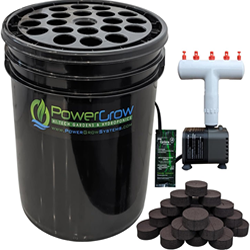
- Cloning medium: Options include rockwool cubes, peat pellets, or aeroponic cloners.
- Humidity dome: Helps maintain high humidity levels.
- Spray bottle: Filled with pH-balanced water (5.8-6.0).
- Tray or container: To hold the clones and medium.
- Sterile water: For misting and hydration.
Step 4: Take the Cuttings
Now that your environment is set up and tools are ready, it’s time to take the cuttings. Follow these steps carefully:
Choosing the Cutting
- Select a healthy branch from the lower part of the plant. These branches are younger and root more easily.
- Ensure the branch has at least 2-3 nodes (the points where leaves grow from the stem).
Making the Cut
- Use your sterilized scissors or razor blade to make a clean, 45-degree angle cut just below a node. This angle increases the surface area for rooting for optimal results.
- Trim any large leaves on the cutting to reduce moisture loss.
- IMPORTANT: Leave 1-2 smaller leaves intact to support photosynthesis.
Step 5: I Recommend Clonex Rooting Gel
Clonex is a gel-based rooting hormone that promotes rapid root development. Here’s how to use it:
- Pour a small amount of Clonex into a separate container to avoid contaminating the bottle.
- Dip the cut end of the clone into the Clonex gel, ensuring the entire cut surface is coated.
- Gently tap off any excess gel before placing the cutting into the medium.
Step 6: Place the Cuttings in the Medium
Insert the treated cutting into your chosen cloning medium:
- Rockwool Cubes: Soak the cubes in pH 5.5 balanced water for 15-30 minutes before use. Insert the cutting into the pre-made hole.
- Peat Pellets: Expand the pellets with water and insert the cutting into the center.
- Aeroponic Cloners: Place the cutting into the machine’s designated slot.
Ensure the cutting is secure but not overly tight, as this can damage the stem.
Step 7: Maintain the Clones
Proper care during the rooting phase is critical. If I were you I would follow these guidelines:
Hydration and Humidity
- Mist the clones with pH-balanced water 2-3 times a day to keep them hydrated.
- Keep the humidity dome in place, but open it for a few minutes daily to allow fresh air exchange.
Temperature and Light
- Maintain consistent environmental conditions (72°F-78°F, 70%-80% humidity).
- Keep the light source at a safe distance to avoid overheating the clones.
Monitoring
- Check for signs of rooting after 7-10 days. Gently tug on the cutting; resistance indicates root formation.
- Remove any clones that show signs of wilting, yellowing, or mold immediately.
Step 8: Transplant the Rooted Clones
Once roots are well-established (usually within 10-14 days), the clones are ready for transplanting:
- Prepare the new growing medium (soil, coco coir, or hydroponic system) and ensure it is well-hydrated.
- Gently remove the clone from cloning tray or aeroponic cloning system, being careful not to damage the roots.
- Plant the clone in its new medium, covering the root zone securely.
- Water lightly and monitor closely as the clone adjusts to its new environment.
- NOTE: They may droop at first but usually perk back up after a couple hours, but sometimes may take 48 hours to fully perk up. If they happen to droop place a clear plastic cup over the clone with a couple pin holes at the bottom of the clear plastic cup. This will trap humidity and you can manually harden them by taking the plastic cup off the plant for 30 min or until it starts to droop.
How Yield Masters Consulting Can Help
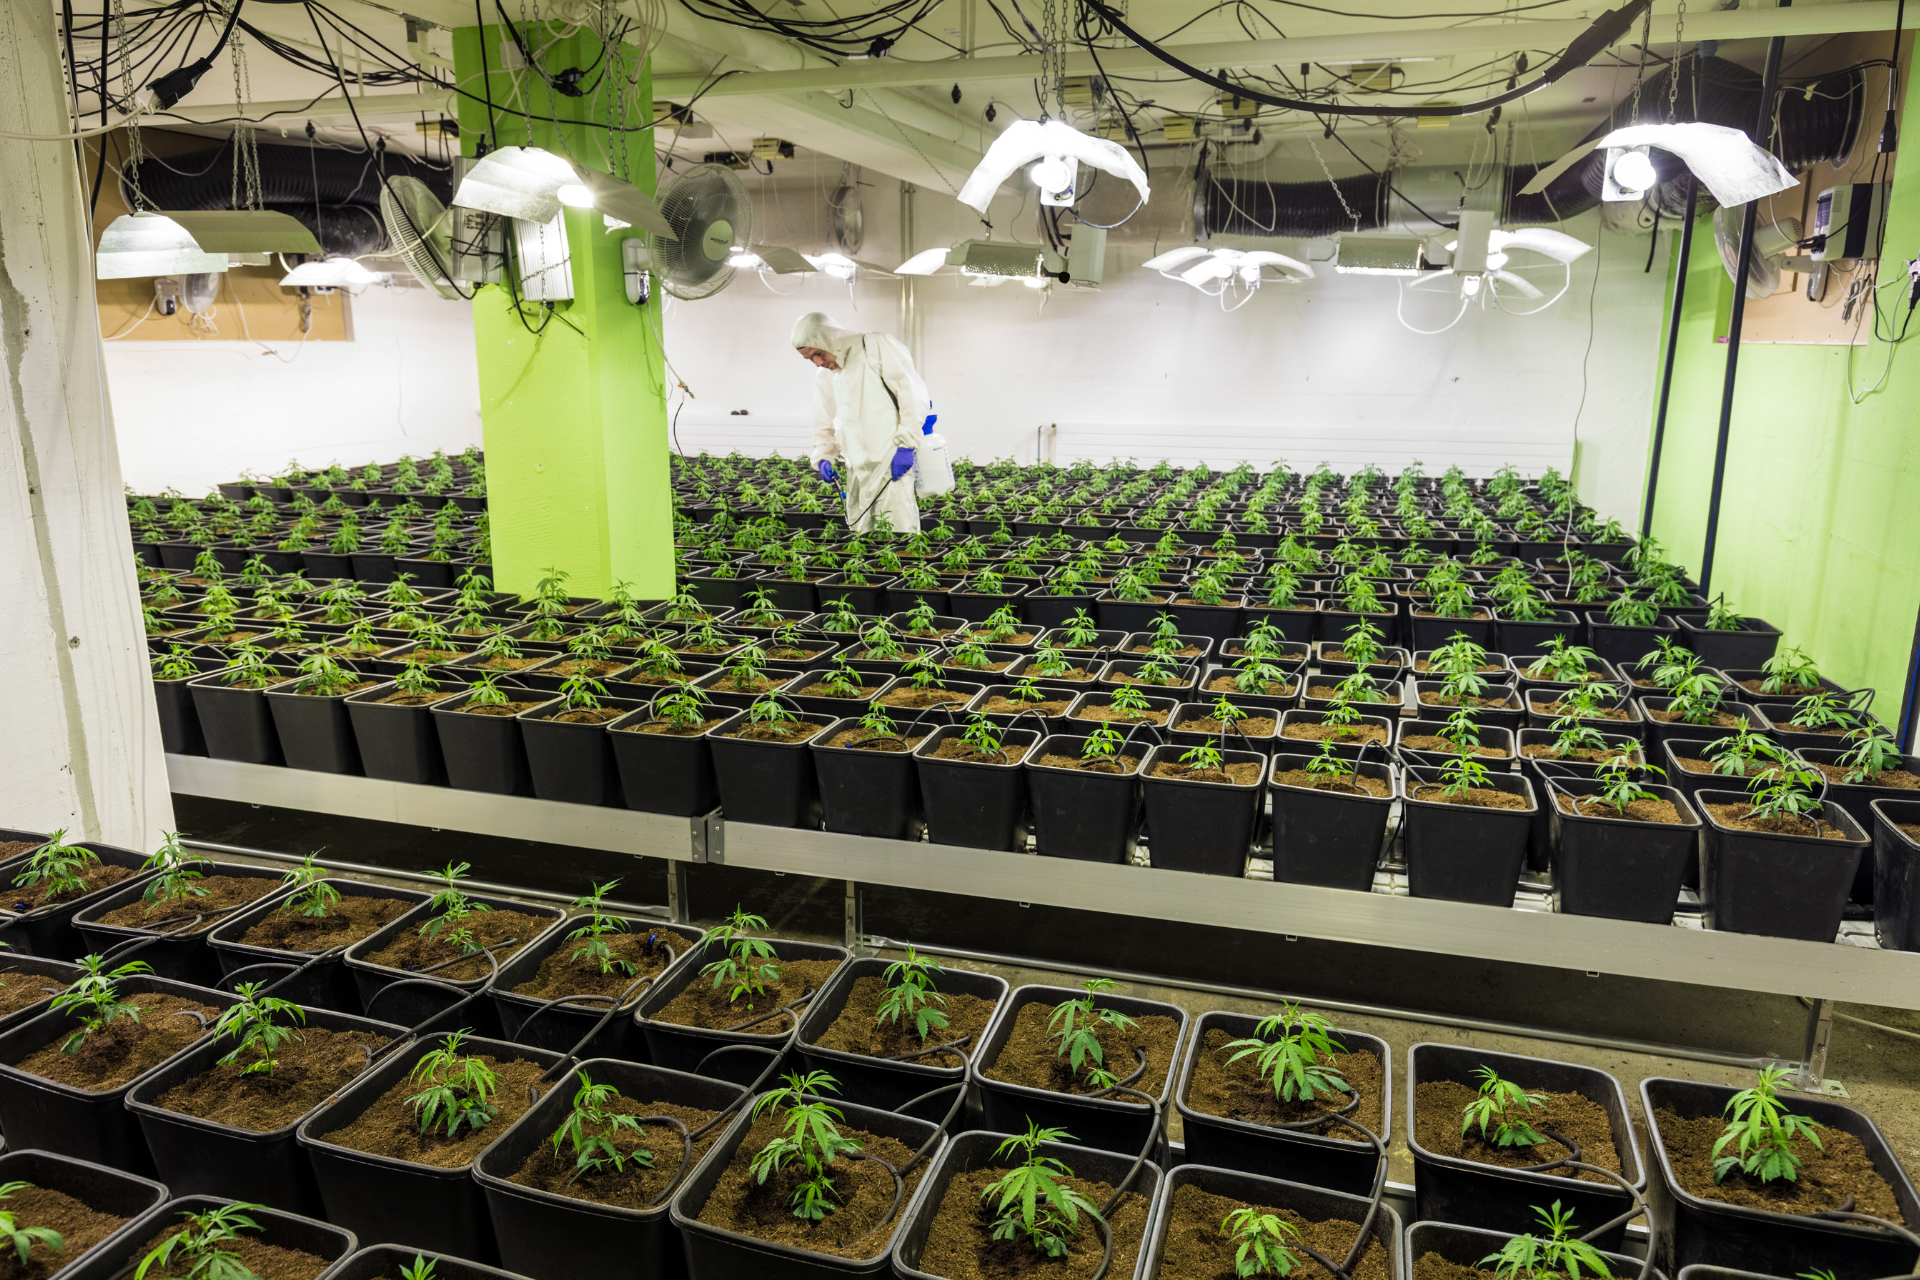
Scaling up your cloning operation to a commercial level can be challenging, but Yield Masters Consulting is here to help. Our team of experts offers:
Commercial-Scale Preparation
- Comprehensive assessments to identify the best cloning techniques for your specific needs.
- Guidance on sourcing high-quality tools, materials, and cloning mediums.
- Step-by-step protocols for maximizing cloning success rates on a large scale.
Designing the Perfect Cloning Environment
- Expert advice on setting up and maintaining optimal environmental conditions for your clones.
- Custom designs for cloning rooms or spaces tailored to your facility’s size and goals.
- Advanced strategies for automation and efficiency to reduce labor and increase productivity.
With our proven expertise and deep industry knowledge, Yield Masters Consulting ensures your cloning operation is not only effective but also scalable and sustainable. From the smallest details to full-scale implementation, we’re your trusted partner in achieving commercial success.
Common Mistakes to Avoid!
- Neglecting Cleanliness: Always sterilize tools and maintain a clean workspace.
- Improper Environmental Conditions: Monitor temperature, humidity, and light levels consistently.
- Overwatering or Underwatering: Balance is key; keep the medium moist but not soggy.
- Skipping Rooting Hormone: Using a product like Clonex rooting gel can significantly improve success rates.
Conclusion
Cloning cannabis plants is a rewarding process that requires precision, patience, and proper technique. By maintaining a clean environment, selecting healthy mother plants, and using tools like Clonex rooting hormone, you can ensure your clones thrive and produce exceptional results.
Whether you’re a beginner or an experienced grower, these steps provide a solid foundation for success.
With Yield Masters Consulting by your side, you can take your cloning operation to the next level. Our expert team is here to design the perfect cloning environment and provide the tools and knowledge you need to succeed. Contact us today to unlock the full potential of your cannabis business.
Take the time to refine your skills, and you’ll unlock the full potential of cloning—saving time, money, and effort while achieving consistent, high-quality yields. Happy growing!


